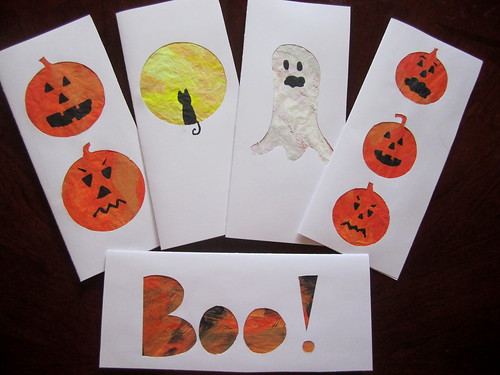
I'm a snail mail fanatic and I send cards for pretty much every possible occasion. When I was younger I frequently made my own cards, but lately I've been doling out $2+ per card for convenience's sake. (Ugh!) I was feeling crafty this October so I decided to fashion some handmade Halloween cards.
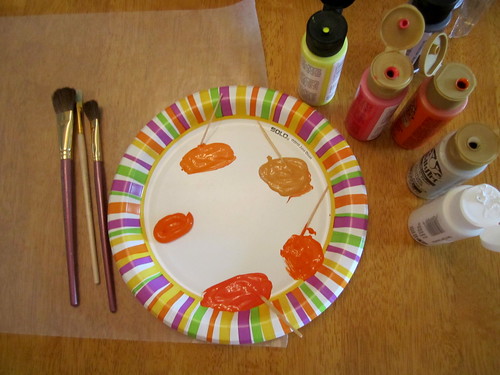
To achieve a stained glass look, I painted one side of a piece of wax paper in each color scheme I wanted. For my pumpkin cards, I mixed several shades of orange. I just used simple brush strokes with different brush sizes. This is a great part of the project for kids (or kids at heart) to do.
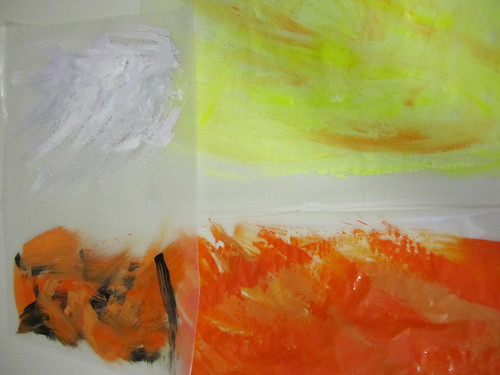
Your finished wax paper sheets will look something like this.

While the paint dried, I cut out words and pictures in my cardstock. This would be a fabulous place to use paper punches if you have them. Unfortunately, I don't have any Halloween ones, so I used cups to trace circles for my pumpkins and moon, and drew my ghost and "Boo!" free-hand. Then I used an X-acto knife to cut them out.
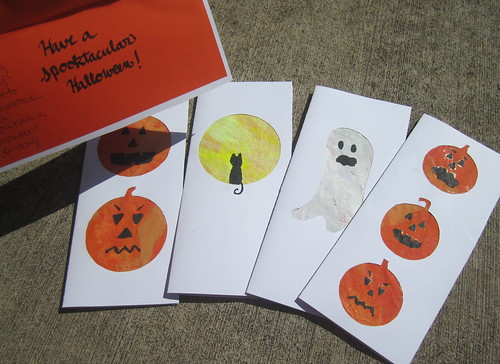
I cut the wax paper to fit behind the cut-outs on the front of each card and glue-sticked them in. (For even more of a stained glass look, glue the wax paper so the unpainted side is showing through the design on the front. I had planned to do that but ended up liking the painted side better.) Then I cut some orange printer paper to size and glued that to entire inside of the card. To finish up, I used black paint to decorate my cards and a calligraphy marker to write clever cheesy phrases inside. Hope you all have a "purr-fect" Halloween week!
We loved our card. What a creative way to make cards. Thanks for the ideas!
ReplyDelete